
Isometric dot paper
Isometric dot paper has dots arranged in a triangular pattern. Students join the dots to draw cubes, prisms and buildings made of blocks, a standard activity in middle-school geometry.
Print at 100% / Actual size so the squares measure exactly. Printing help
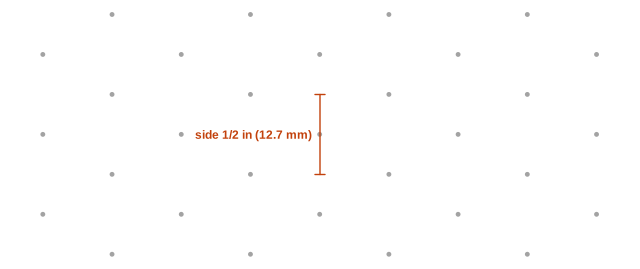
What it looks like up close
Ready-made PDF downloads
Prefer a file you can save and print later? These use the default settings shown above.
Example: a cube structure
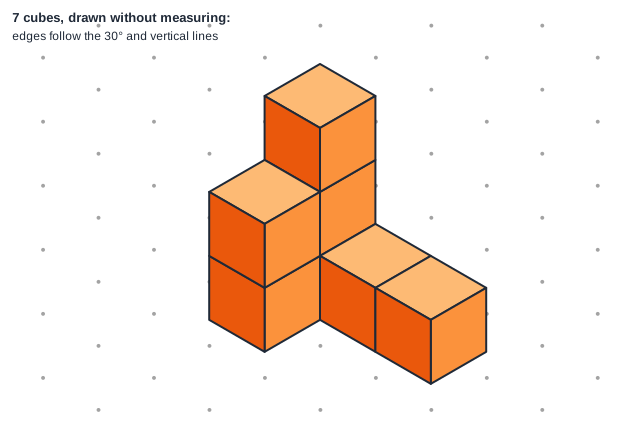
Every visible edge connects two neighboring dots, either vertically or along a 30° diagonal. Students check their drawing by building the structure from real cubes and comparing the views—if a face is missing in the drawing, a cube is missing in the model.
Drawing cube structures
Each cube is drawn by joining six dots in a hexagon and three lines to the center. Stacking cubes is then a matter of moving one dot along the grid. Many textbooks ask students to draw a structure from its front, side and top views on this paper.
The default spacing of 1/2 inch gives large, easy-to-join dots for classroom use; choose 1/4 inch or 5 mm for more detailed drawings.
Dots or lines?
Dots keep the page clean, so finished drawings look like real perspective sketches. If students struggle to see the 30° directions, start with isometric graph paper and switch to dots later.
Classroom exercises
Give students a structure built from four or five interlocking cubes and ask them to draw it from a corner view; then swap drawings and rebuild each other's structures. Counting visible and hidden cubes in a drawing is a good discussion about volume.
Another classic task is drawing the front, side and top views (orthographic projection) on square paper and the 3D view on isometric dot paper, then checking that both descriptions match. Use 1 cm spacing for younger students and 1/4 inch or 5 mm for detailed drawings.
Printing tips
Dots must be dark enough to find but light enough to disappear under pencil lines. The default 2.2 pt gray dot works on most printers; increase it to 3 pt for young students or projectors, and reduce it for fine drawings. Choose landscape if your structures are wide rather than tall.
The lattice is centered on the page, so the same drawing can be photocopied and handed out without dots being cut off at the edges. A Letter page at 1/2 inch spacing has 17 columns of dots, enough for structures up to about eight cubes wide.
How to draw a cube on isometric dots
- Pick a dot for the front corner of the top face.
- Draw the top face as a diamond joining four dots.
- Drop three vertical lines one dot down from the left, front and right corners.
- Join the bottom ends to complete the two side faces.
- Add more cubes by sharing edges with the first one.
Front, side and top views
A common exercise gives the isometric drawing and asks for the three orthographic views on square paper, or the reverse. Count the cubes visible from each direction: the front view shows the columns' heights, the top view shows the footprint, and the side view shows depth.
Recommended settings
Starting points for common uses. Pick the closest one, then adjust the size or color in the generator above.
| Use | Settings |
|---|---|
| Cube structures in class | 1/2 inch spacing, dot size 2.2 pt |
| Detailed 3D sketches | 1/4 inch or 5 mm, dot size 1.4 pt |
| Projector or whiteboard | 1 inch spacing, dot size 4 pt |
Questions
How far apart are the dots?
Each dot is the chosen spacing from its six neighbors; the default is 1/2 inch.
Which way up should I hold the page?
Hold it so the dots form vertical columns; each column is offset by half a step from the next.
Is isometric dot paper used in tests?
Yes, many math curricula include isometric drawing questions with dot paper provided.
Can I print isometric dots on A4?
Yes—choose A4 in the page size list; the dots stay at the chosen spacing.
Why are some dot columns offset?
Alternate columns are shifted by half a step; that offset creates the triangular pattern.